Below is a step-by-step guide on how to change the nozzle in the X-MAKER 3D printer.
 |
 |
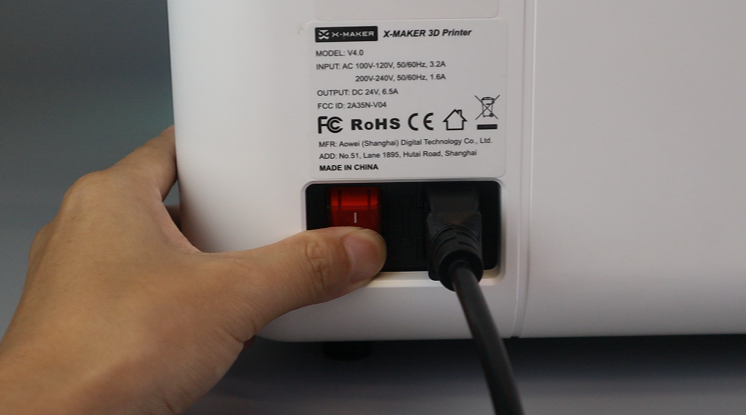 |
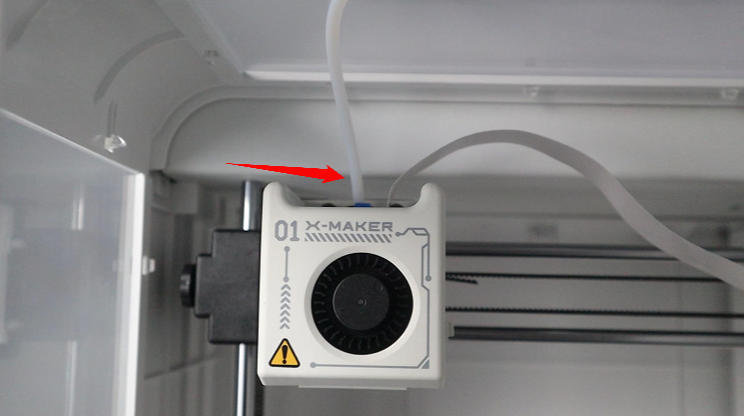
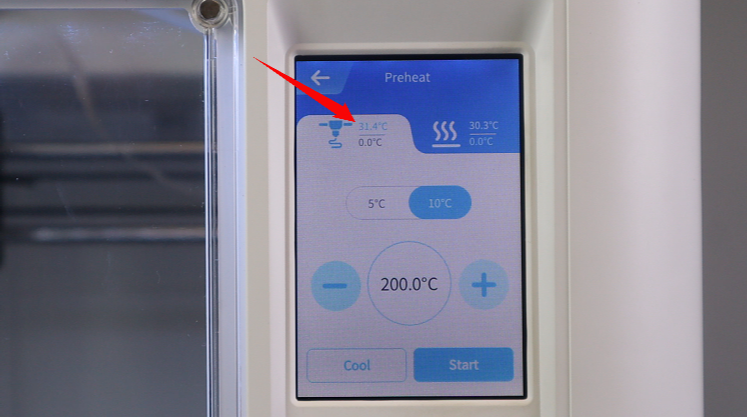
| 1.Unload the filament. | 2.Wait for the nozzle temperature to cool down below 40 ℃. | 3. Turn off the printer. |
 |
 |
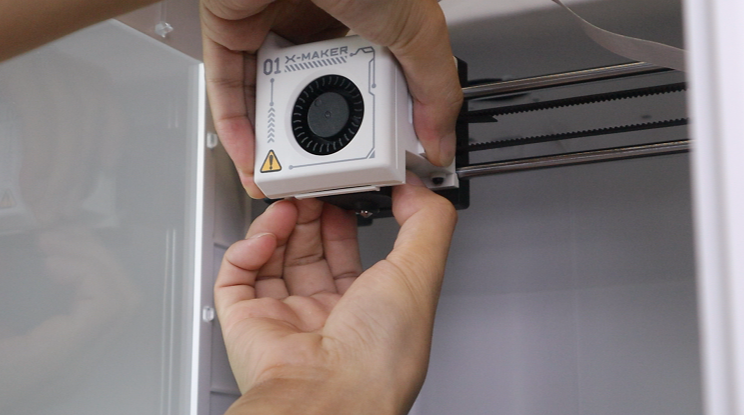 |
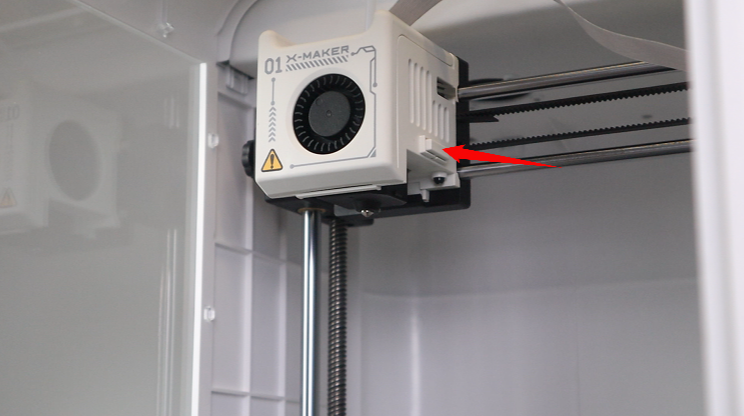
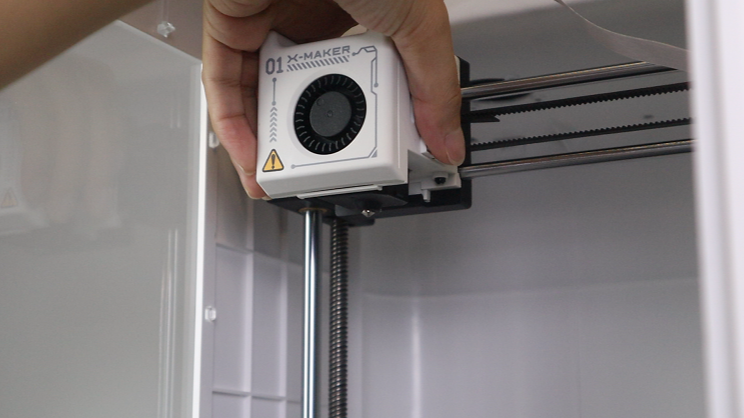
| 4.Notice the white button. | 5.Press the white button with one hand. | 6.Pull out the nozzle with the other hand using some force. |
 |
 |
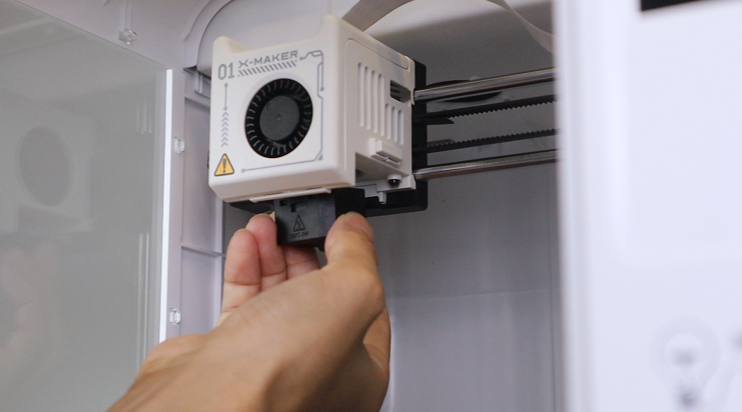 |
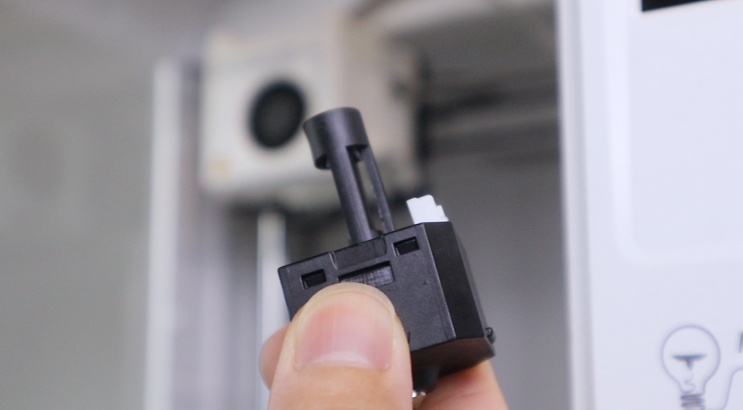
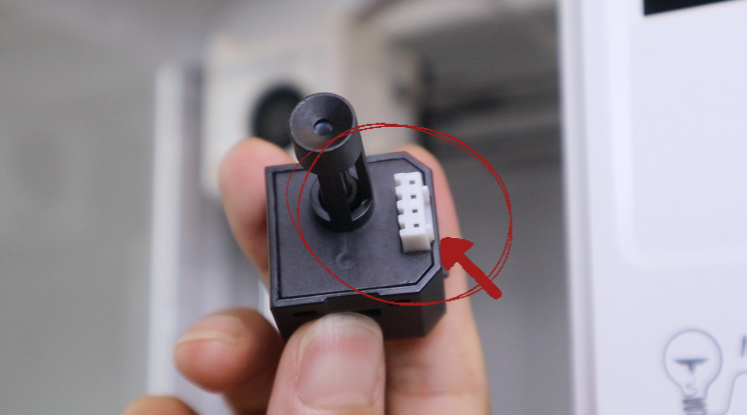
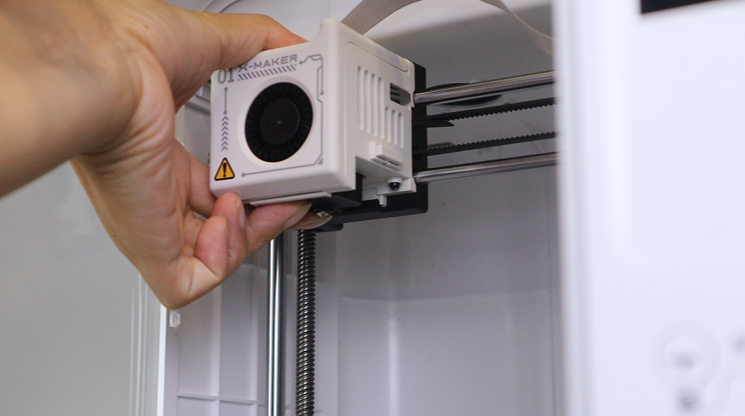
| 7. Take out a new nozzle. | 8.Turn the white part to the right. | 9.Inset the new nozzle into place. |
 |
 |
|
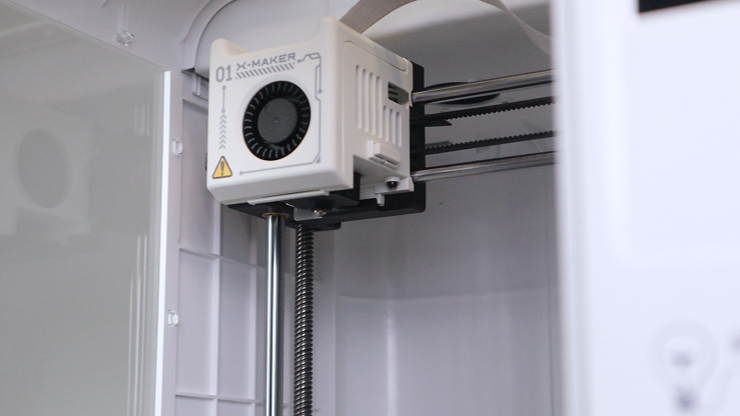
| 10.And press it.You’ll hear a crispy click when it’s locked, | 11. The nozzle is now successfully changed. You can start printing. |
For further assistance, contact AOSEED customer support via service@aoseed.com.