You are now ready to start your first print. There’s no need to upload a model manually, use a 3D slicer, level the bed, or set the temperature. Simply tap the screen, and you’ll soon have your 3D print!
¶ Using a USB drive to print
|
 |
 |
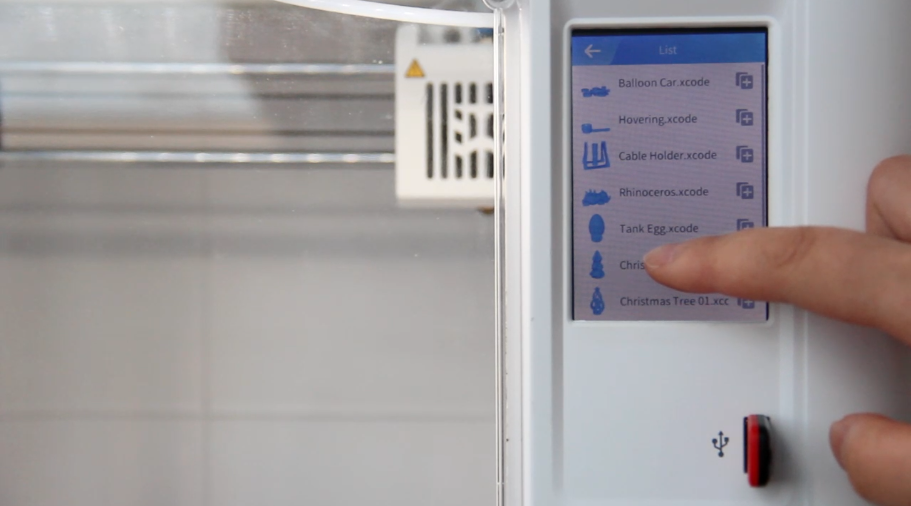 |
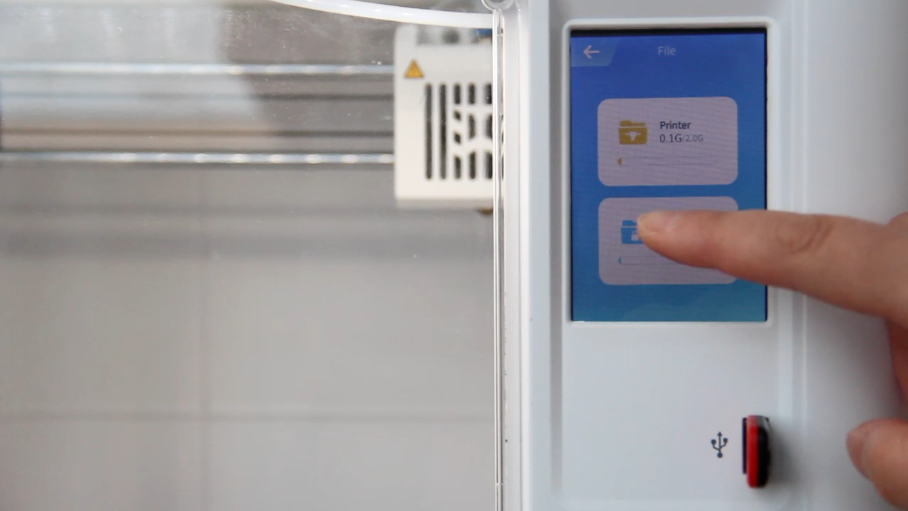
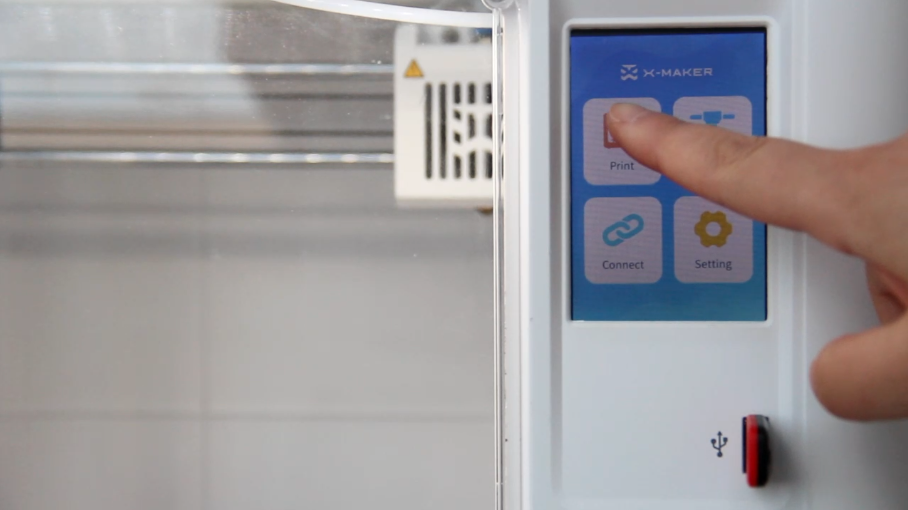
| 1. Insert the USB flash drive into the port and press Print. | 2. Select USB. | 3. Tap the model you want to print. |
|
 |
 |
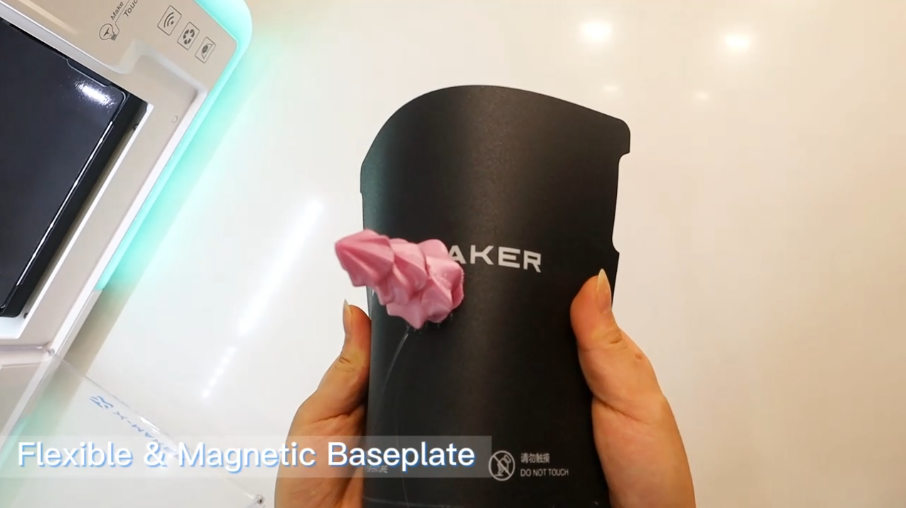 |
| 4. Press Start. | 5. The printer will prepare for printing. Then the printer will automatically start the printing task. | 7. Once the print is complete, remove the model and base plate. Gently bend the plate and remove the model. |
 |
 |
|
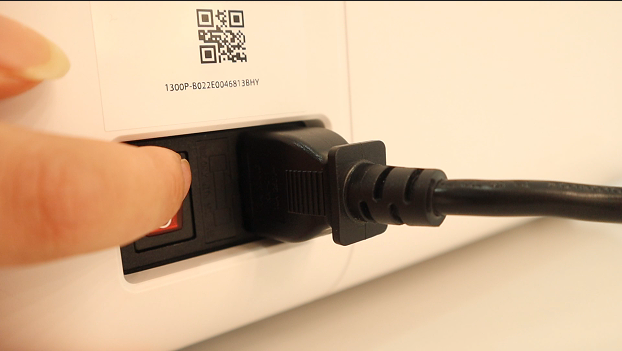
| 8. Remember to place the plate back into the printer for the next print. | 9. When the printer is not in use, turn off the power. |
¶ Using the XMAKER app to connect & print
 |
 |
 |
 |
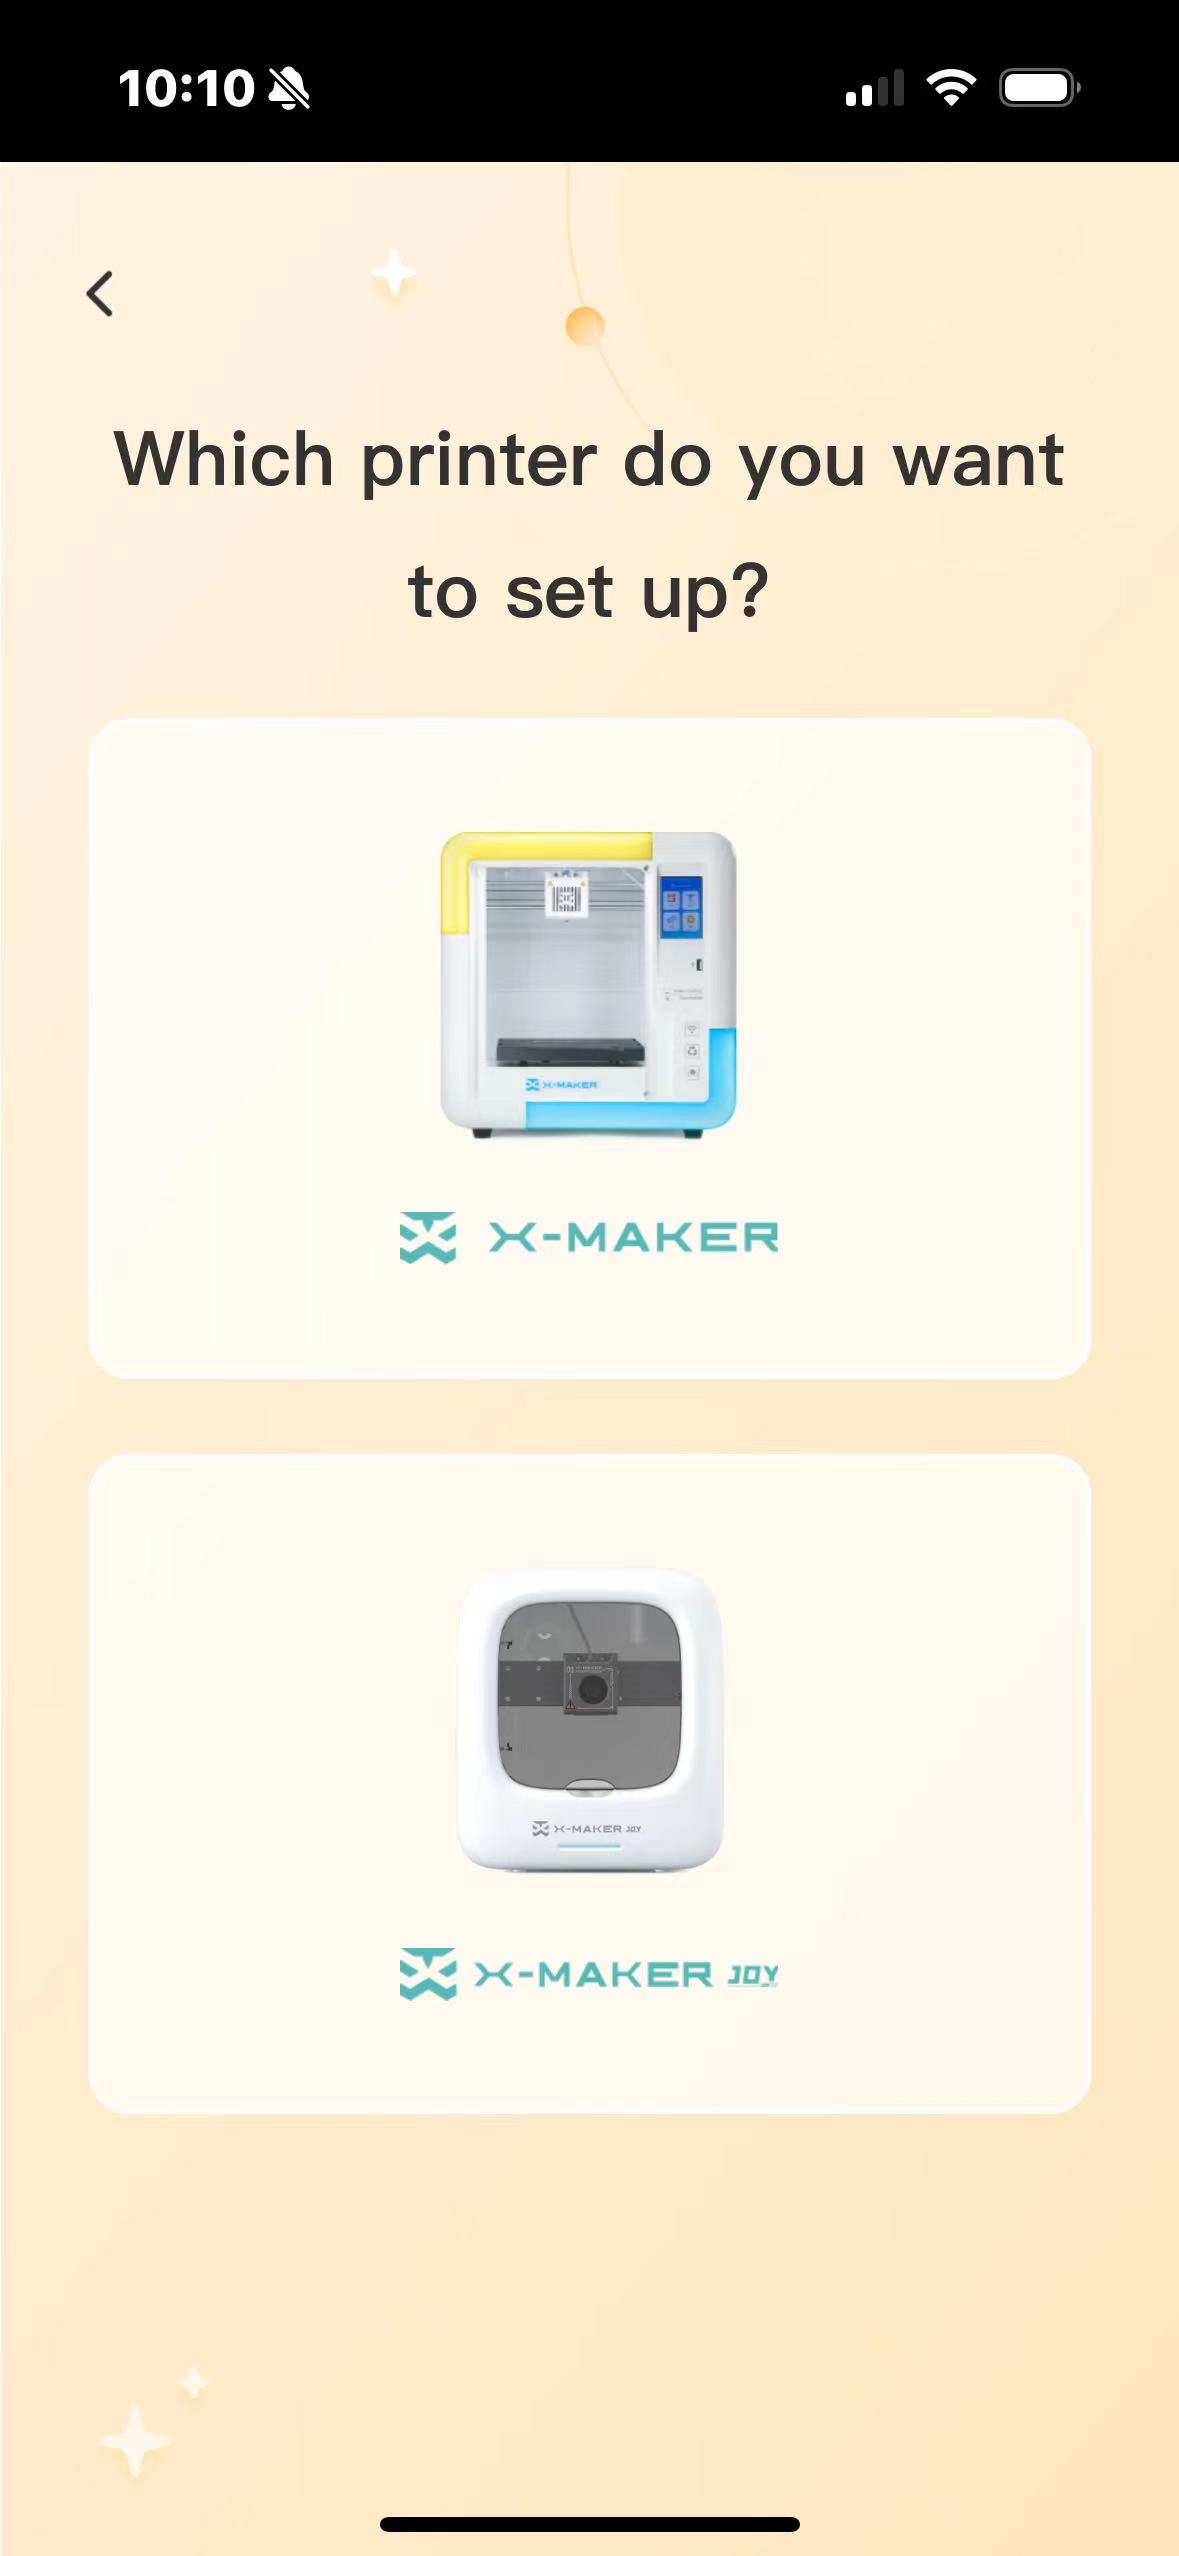
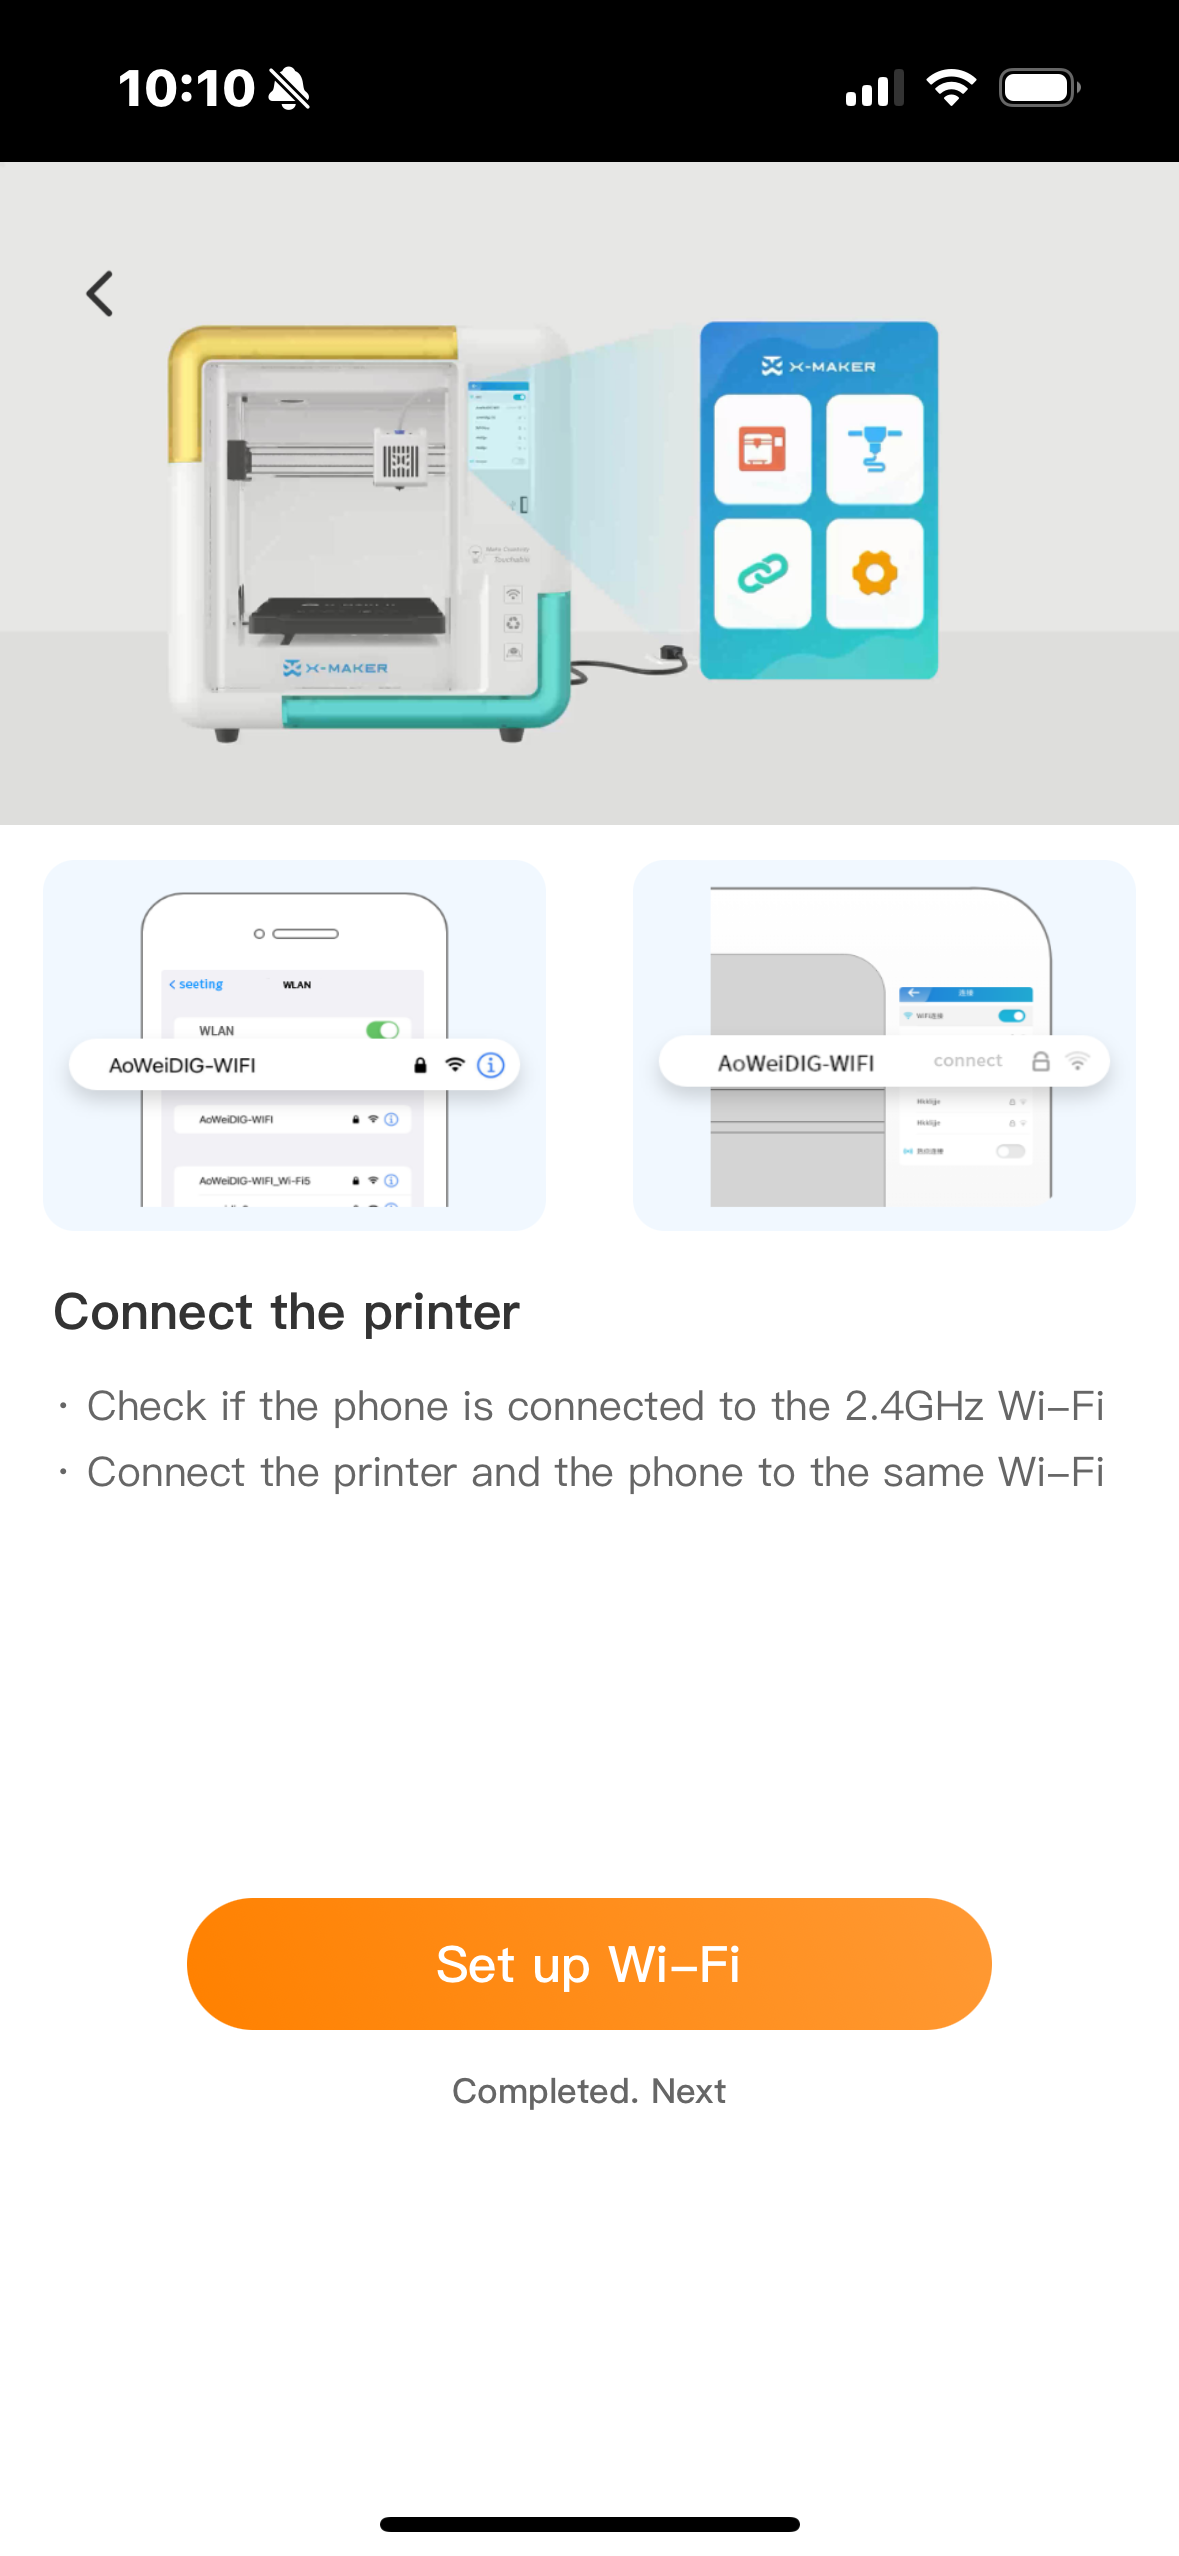
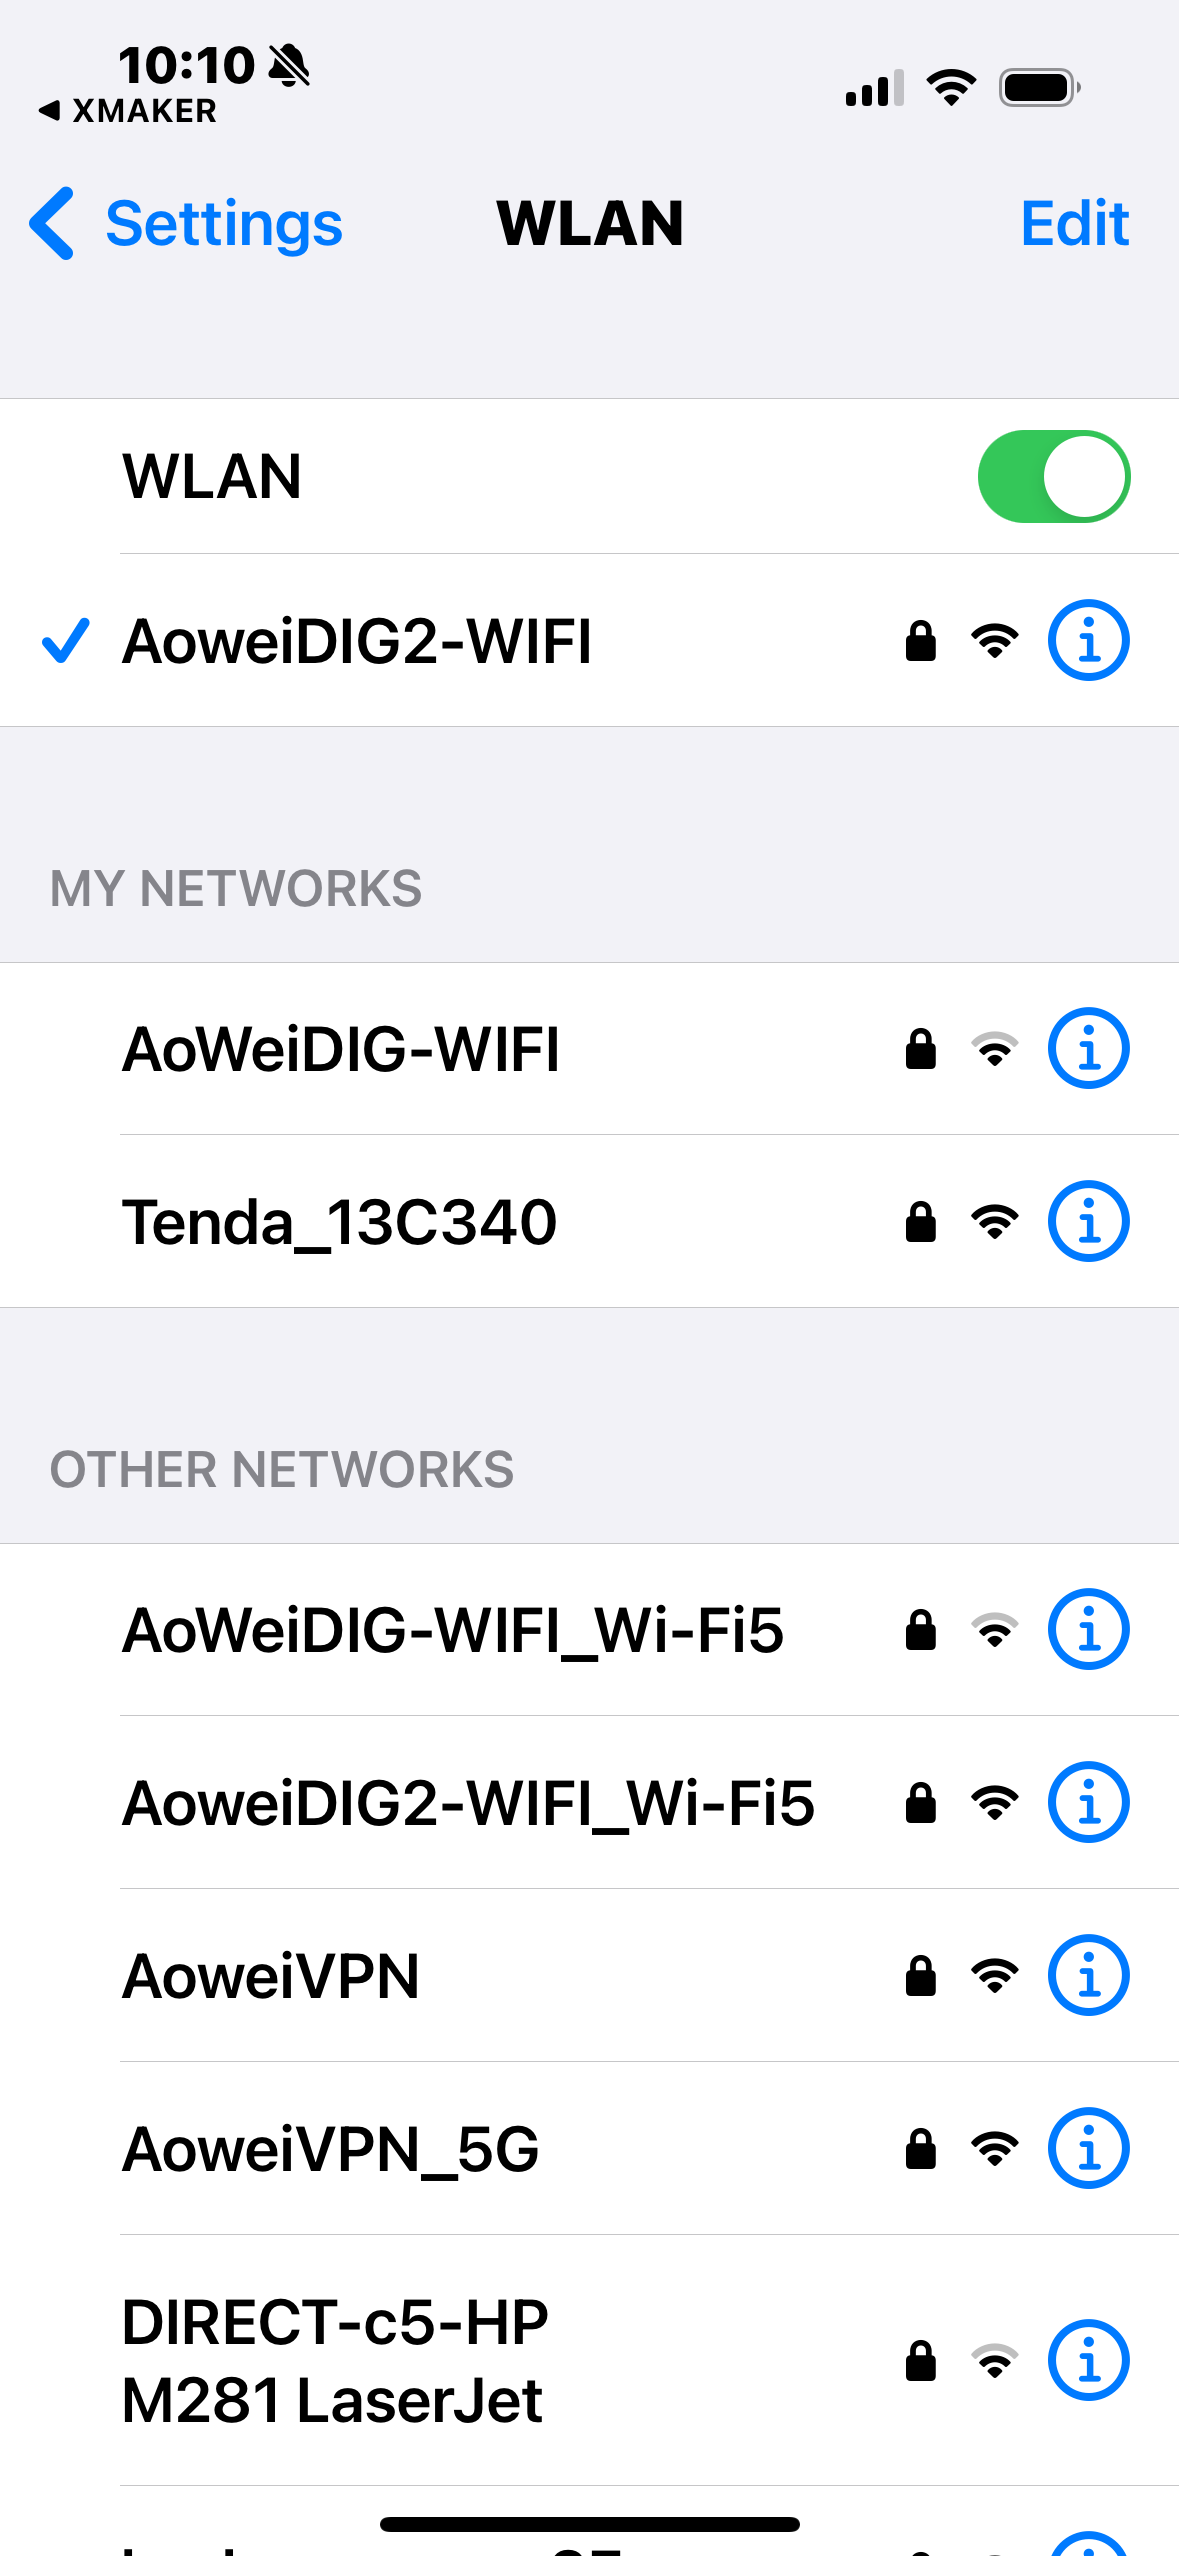
| 1.Open the app and select the X-MAKER printer on the guide page. | 2. Since the printer is already set up, go directly to the Wi-Fi connecting page. Tap Set up Wi-Fi. | 3. Select the 2.4 GHz Wi-Fi network that the printer is connected to. | 4. After the Wi-Fi connection is successful, select the corresponding printer on the pop-up printer interface and tap Connect. |
 |
 |
 |
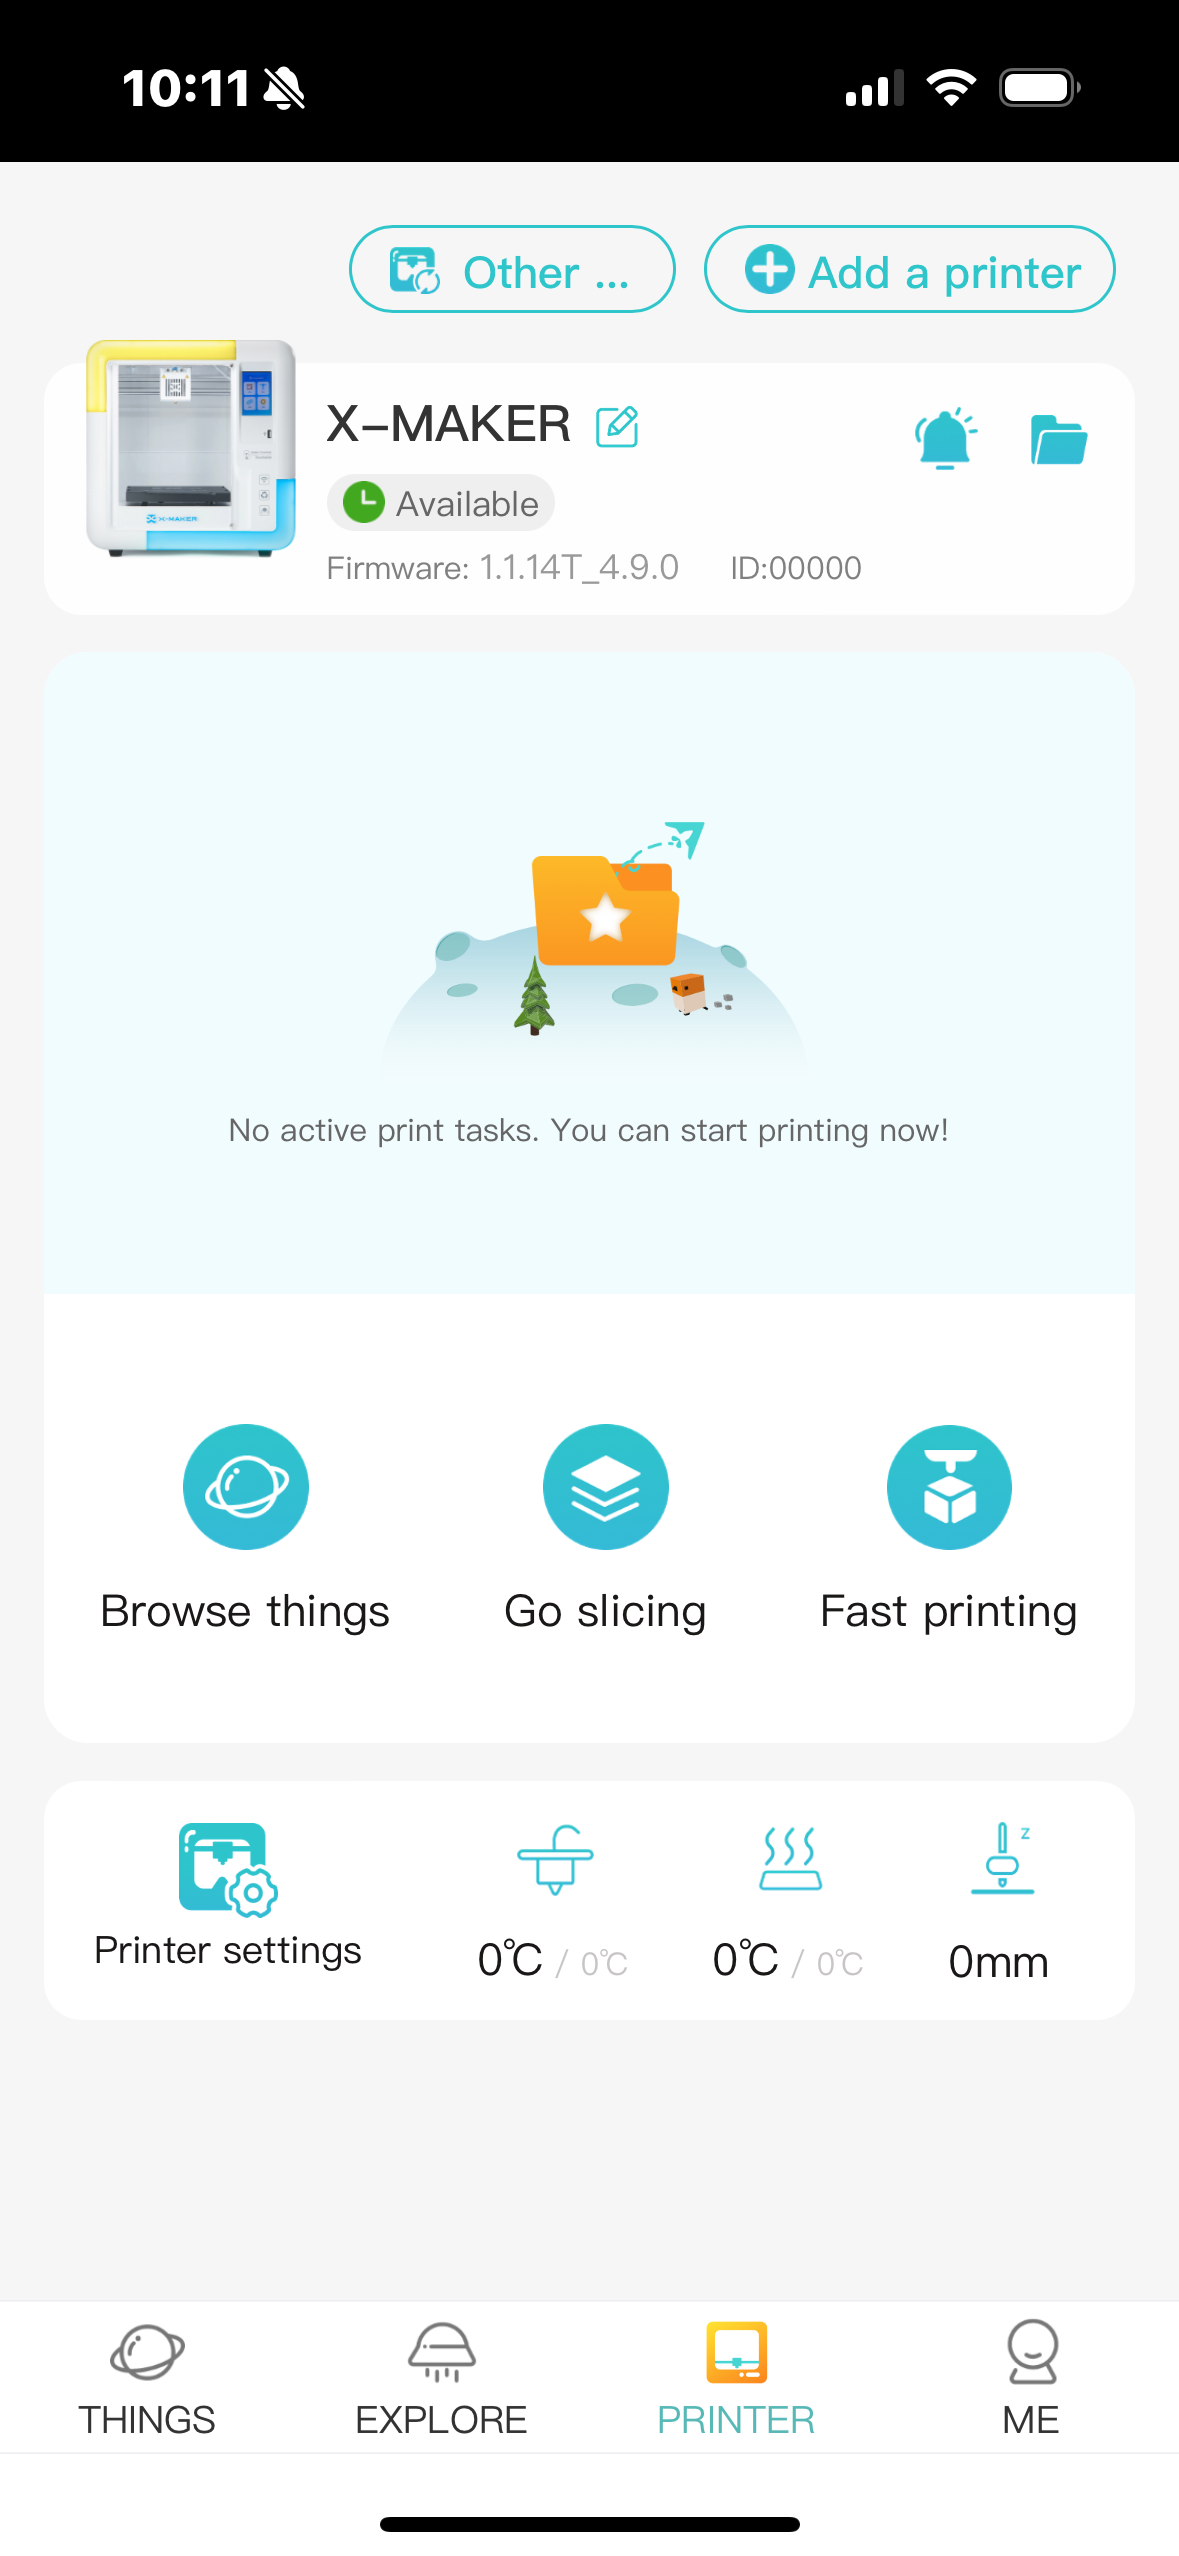 |
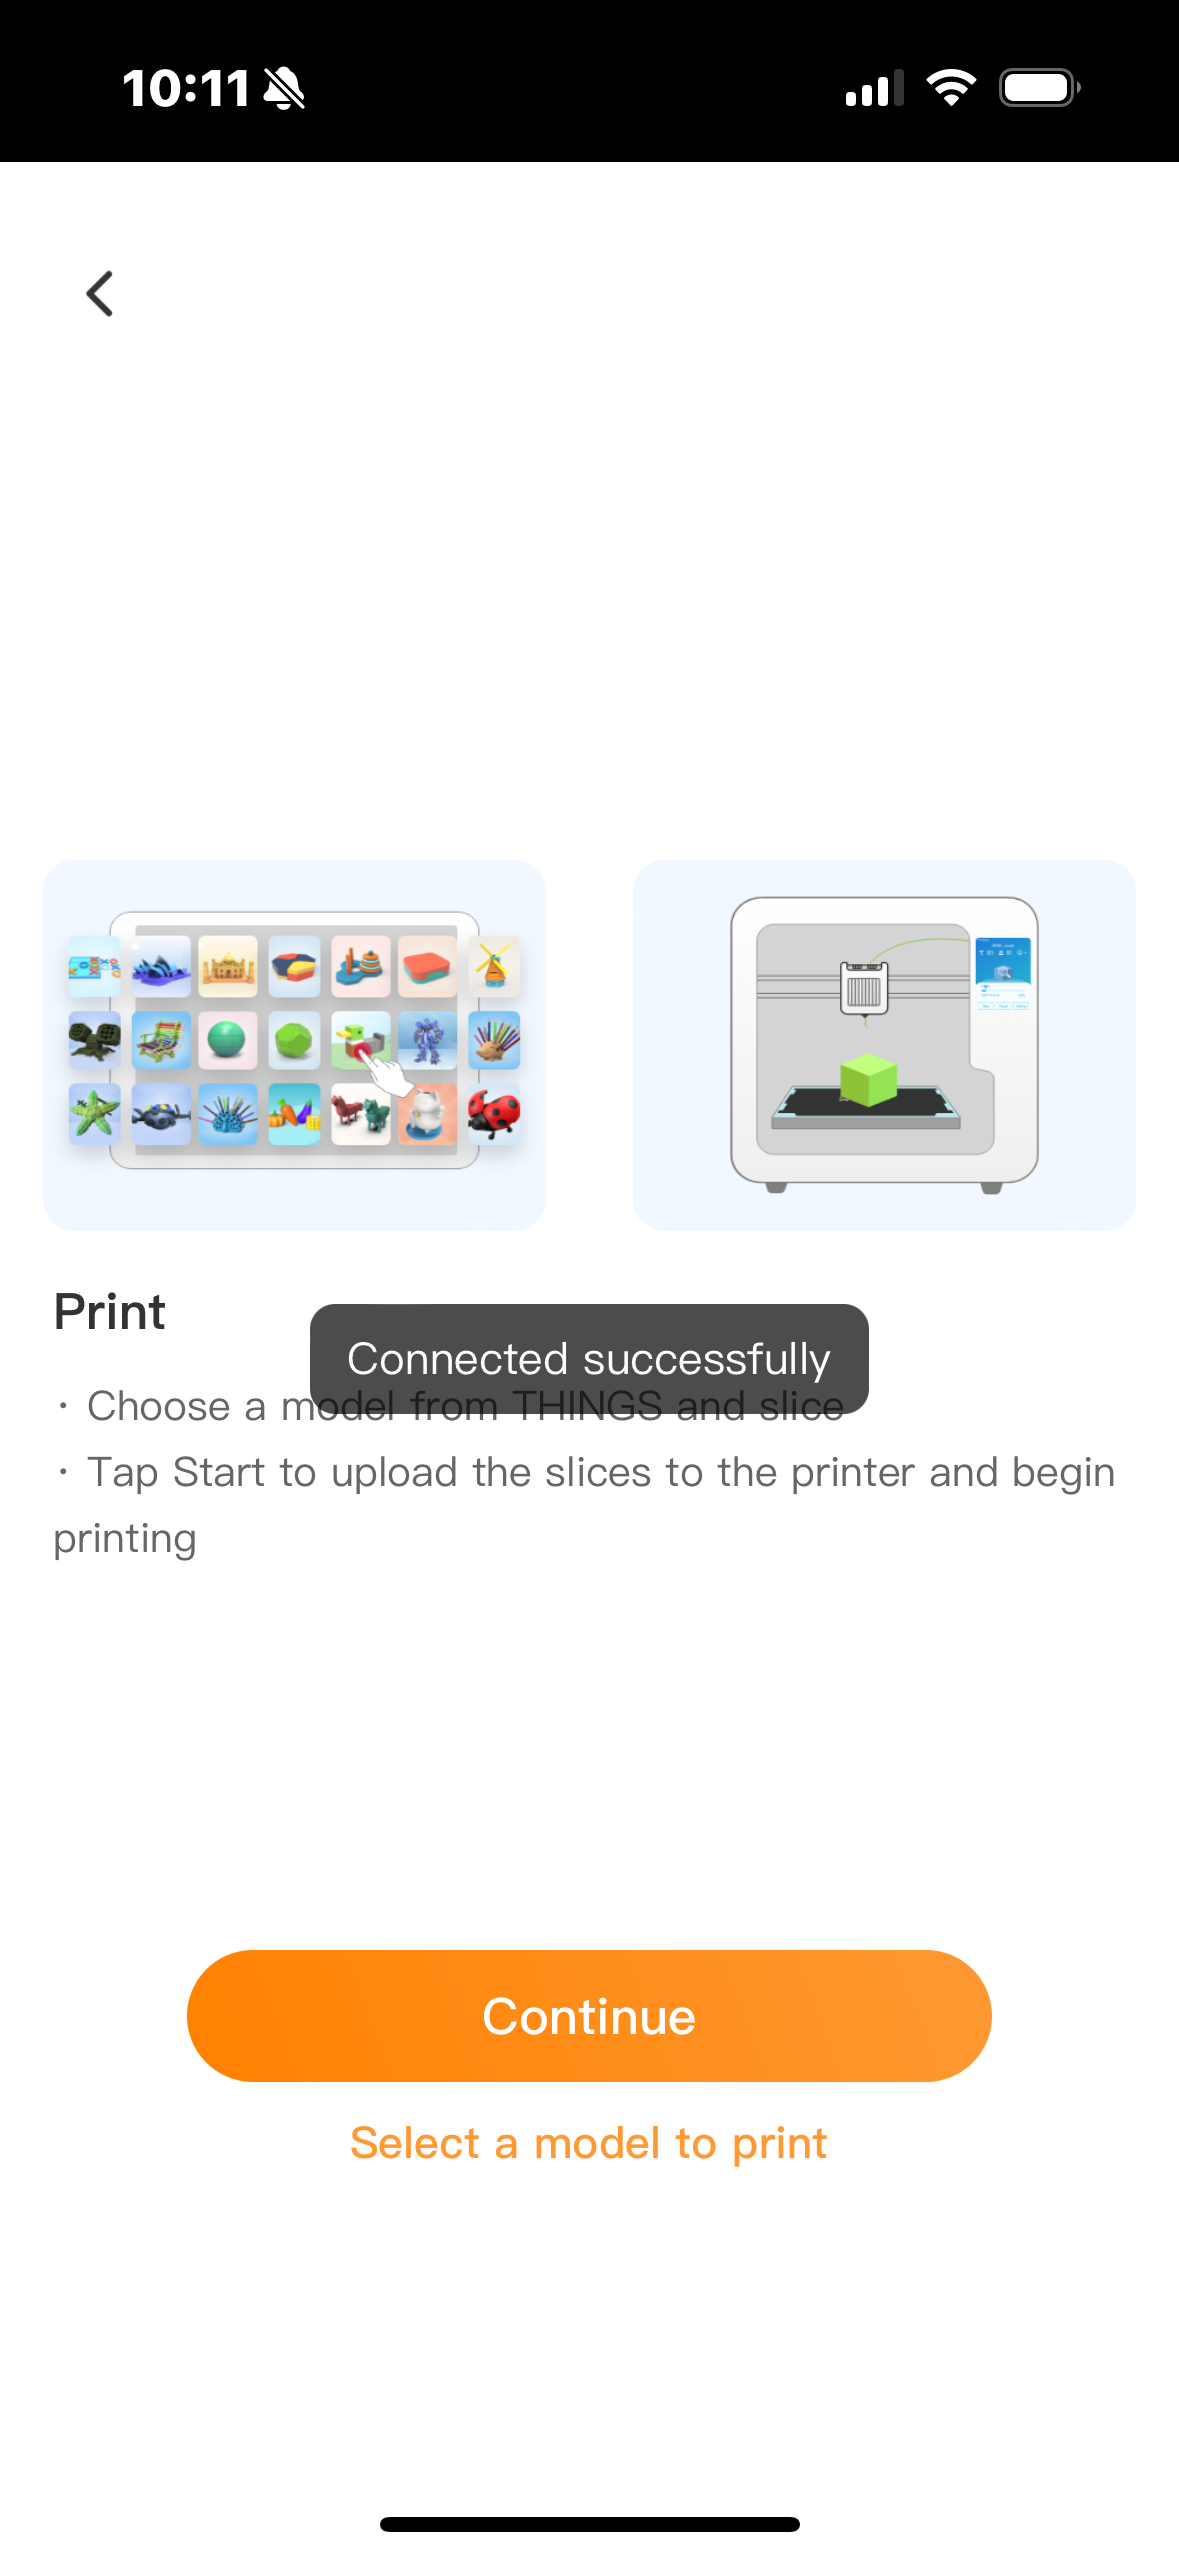
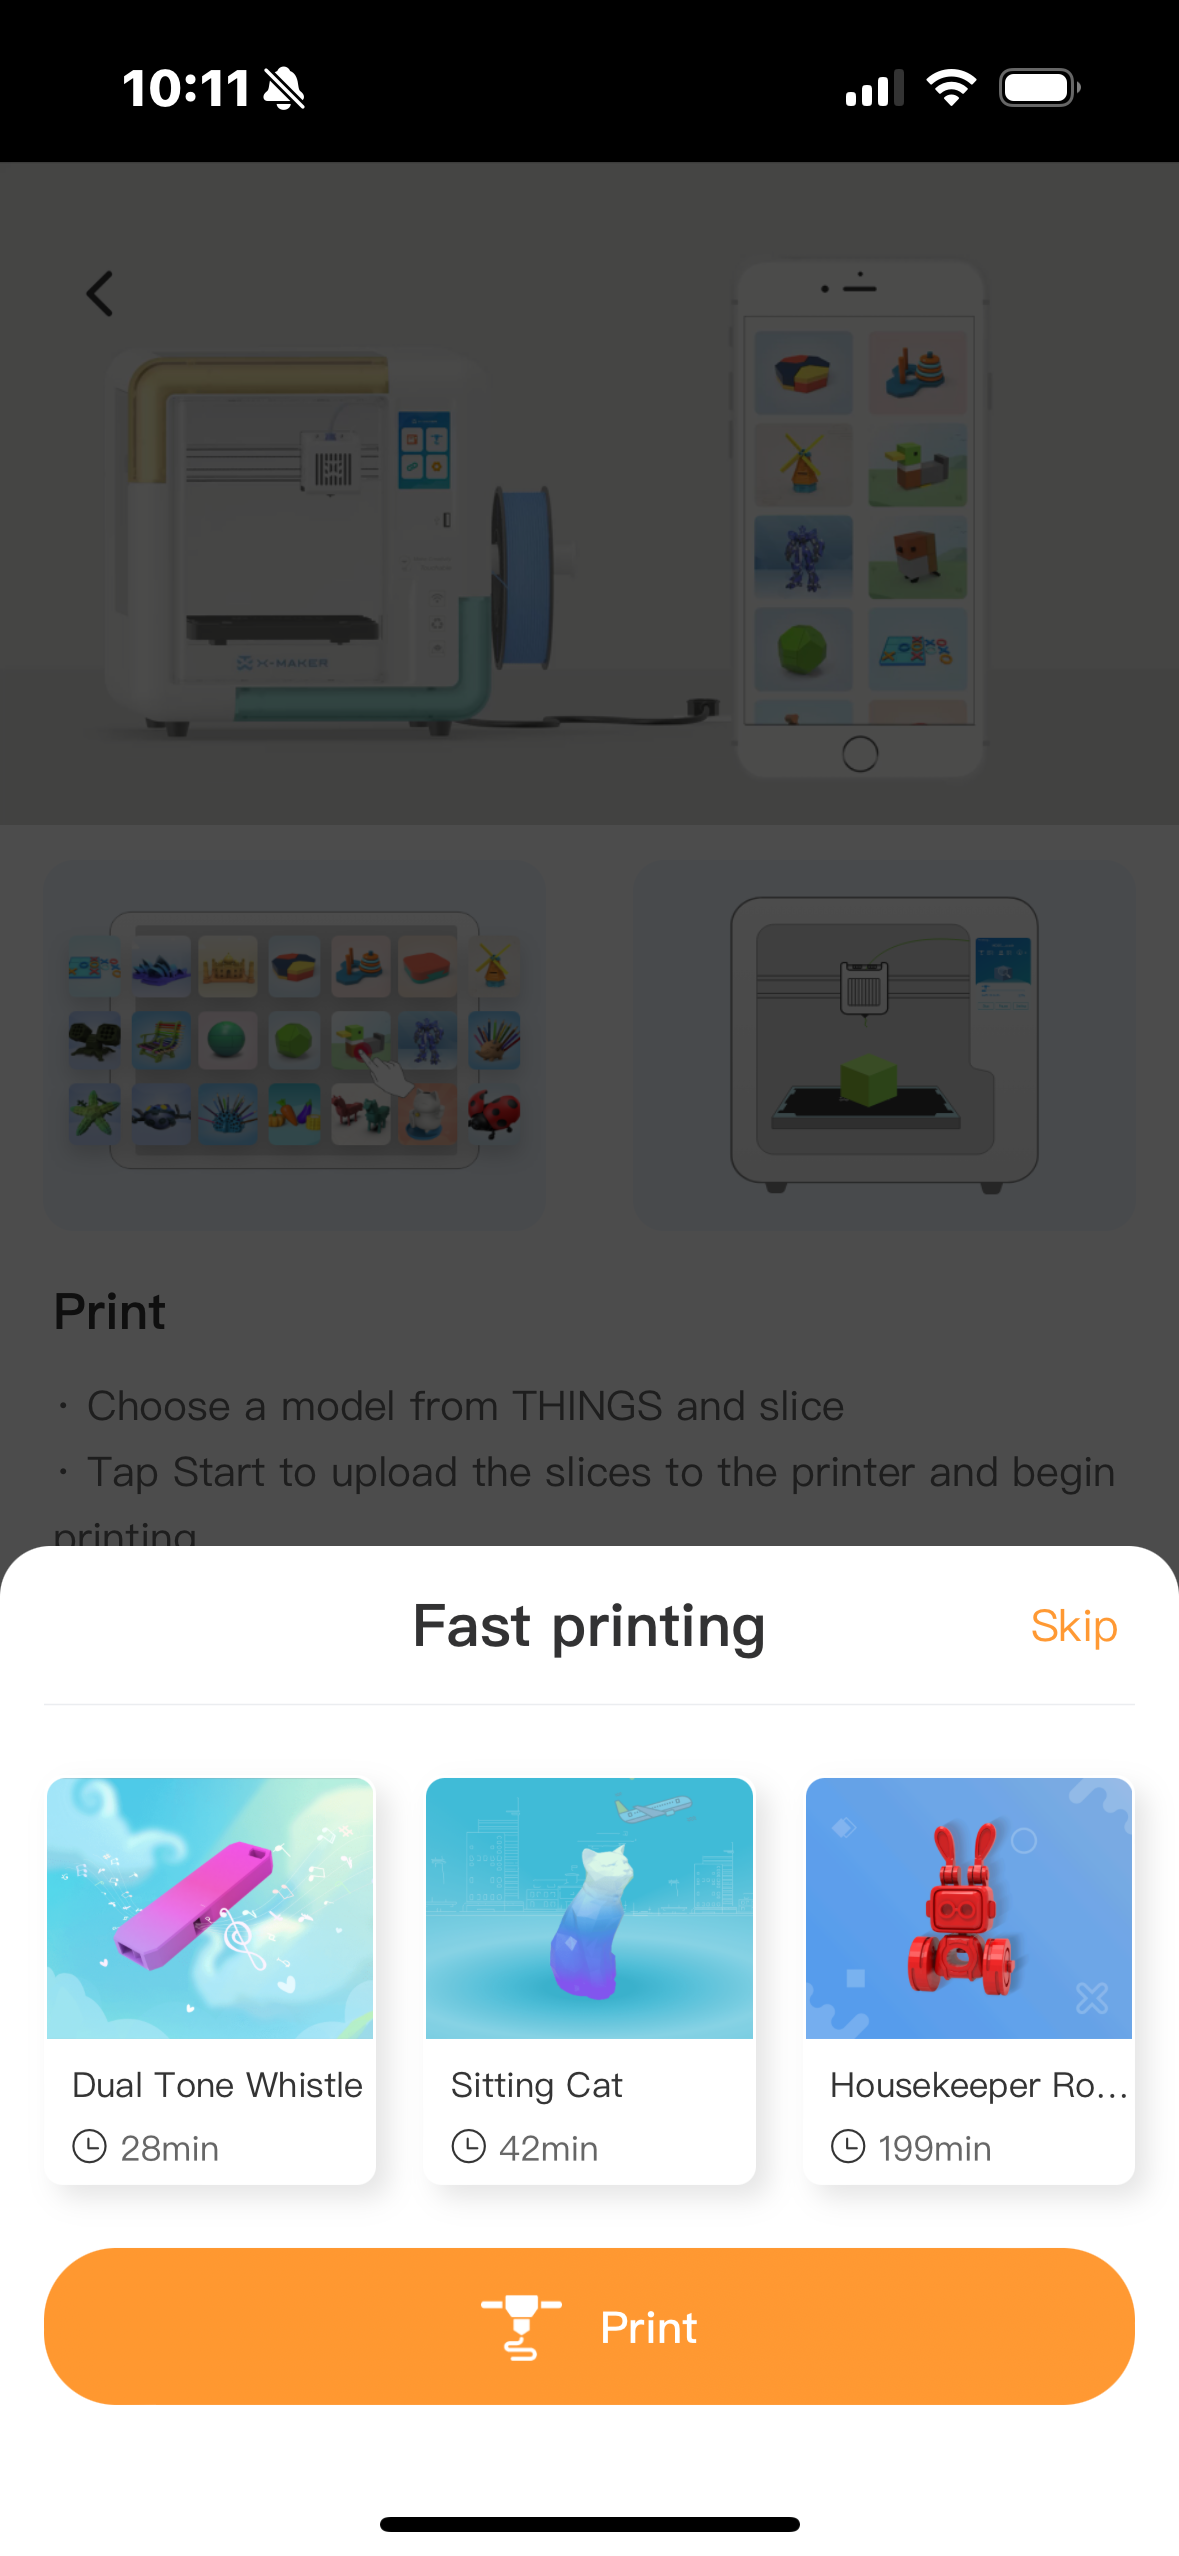
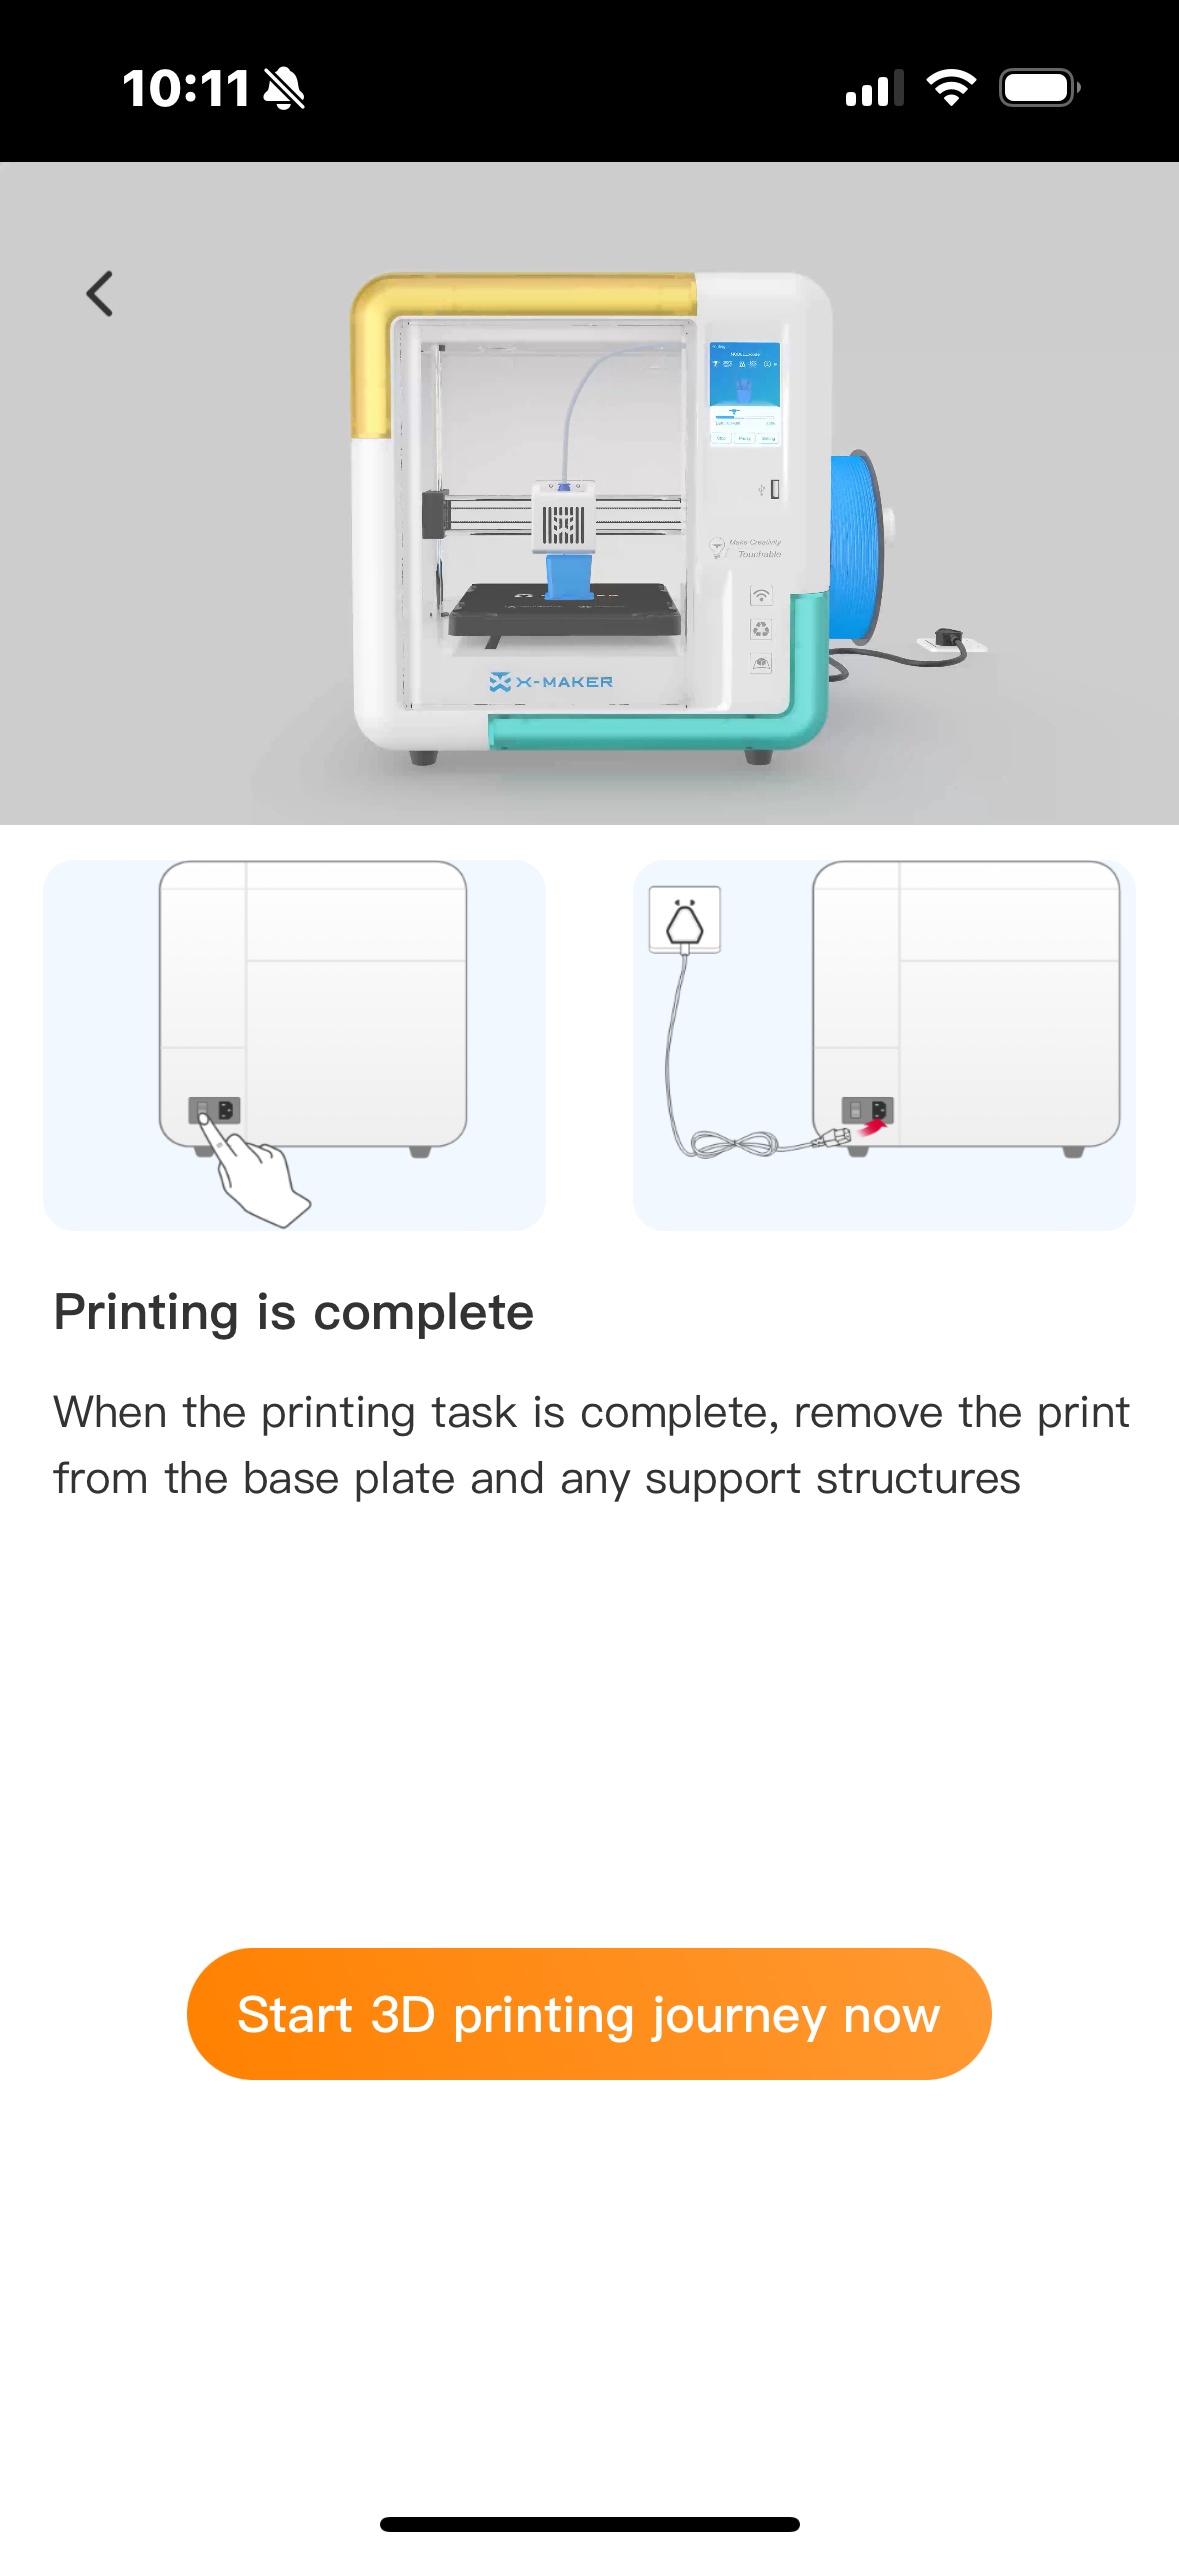
| 5. Once connected, you will be automatically redirected to the this page. Tap Select a model to print. | 6. A quick printing model will pop up for you to choose from. Tap one to print directly. | 7. If you don't want to print at the moment, tap Skip in step 6. Tap Start 3D printing journey now to enter the Printer interface. | 8. You printer is now successfully connected. |
For further assistance, contact AOSEED customer support via service@aoseed.com.