As product versions may update over time, the contents of your package might vary slightly from what's shown here. Don’t worry—these differences won’t affect print quality or functionality. Follow the steps below to unbox your new 3D printer:
 |
 |
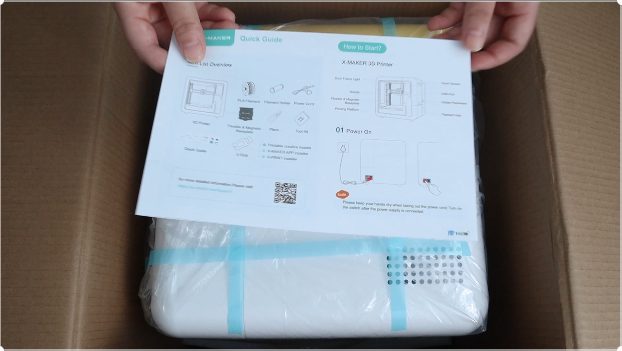 |
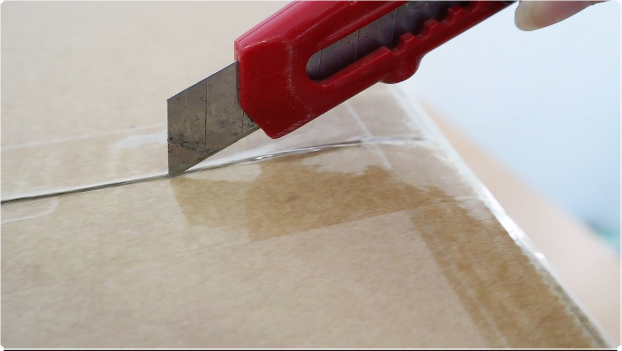
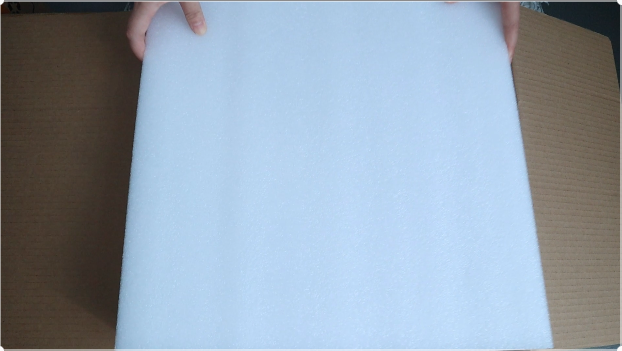
| 1. Use a utility knife or scissors to cut through the sealing tape on the box. | 2. Remove the wrap foam around the printer. | 3. Note that the quick guide is placed on the printer. |
 |
 |
 |
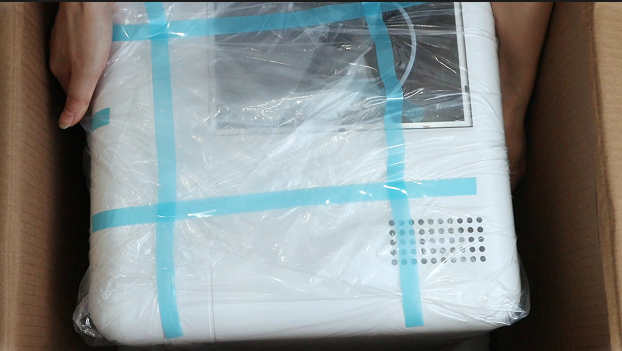
| 4. Take out the printer (you can directly lift the plastic bag). | 5. The filament spook and accessories are placed in the bottom foam. Take them out. | 6. Remove the outer plastic bag and fixing straps of the printer |
 |
 |
|
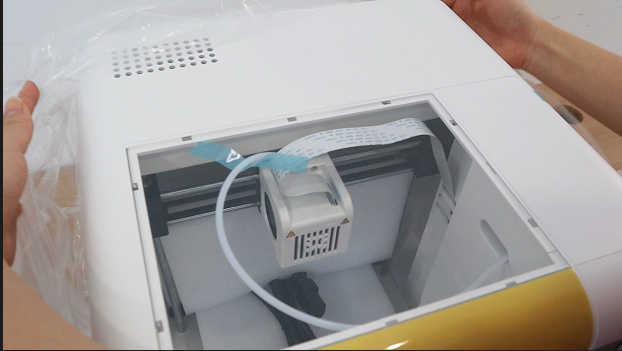
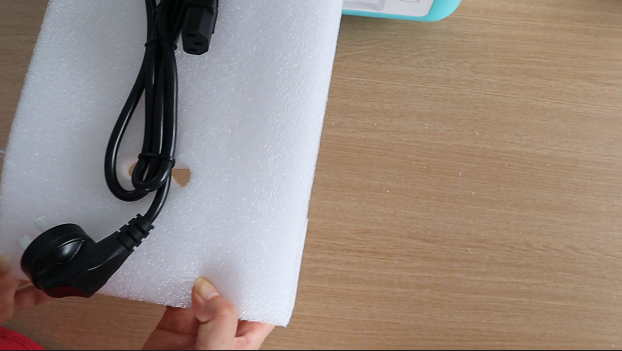
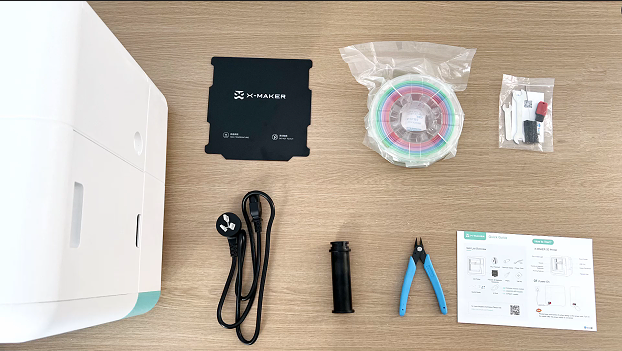
| 7. Open the printer door and remove the foam inside of the printer. The power cord and the spool holder are secured to the foam. | 8. Check accessories: a flexible base plate, a spool of filament (200g), a tool bag (including a U flash drive, a through needle and a leveling card), a power cord, a spool holder, a pair of pliers, a quick guide. |
Having trouble? You can email service@aoseed.com.