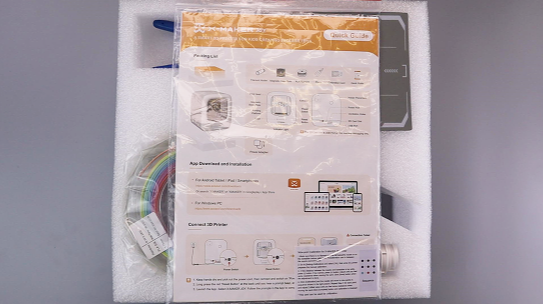
Due to constant version iterations, the actual accessories (such as protective foam, the the through pin, tools, etc.) in the box might be slightly different from those shown in the unboxing video or the picture below. Please refer to the actual package received.
Follow the steps below to properly unpack and install your new X-MAKER JOY 3D printer.
.jpg) |
 |
.jpg) |
| 1. Open the box. | 2. Take out the foam and accessories. Lift the printer out of the box. | 3. Check the accessories: an X-MAKER JOY 3D printer, a Quick Guide, a spool of 200g filament, 2 sheets of DIY stickers, a pair of pliers, a spool holder, a calibration card, a magnetic base plate, etc. |
.jpg) |
.jpg) |
.jpg) |
| 4. Open the printer’s door, and take out the protective foam and the power adapter, which is inside of the foam. | 5. Cut and remove the strap around the print head. | 6. Pull out the bed. |
.jpg) |
.jpg) |
.jpg) |
| 7. Place the base plate along the edge of the bed. | 8. Install the spool holder at the back of the printer. | 9. Unhook the filament from the spool and place the spool onto the holder. Ensure the tip of the filament is facing upward. |
.jpg) |
.jpg) |
.jpg) |
| 10. Press the extruder cover slightly and remove it. | 11. Cut the tip of the filament at an angle. | 12. Straighten the tip. |
.jpg) |
.jpg) |
.jpg) |
| 13. Push the spring up and hold it, then insert the tip and feed it into the tube. | 14. Replace the cover. | 15. Take out the adapter. |
.jpg) |
||
| 16. Connect the power cable to the printer. |
Encountered a disengaged printhead during printer setup? Check this out.
If there are any other questions, please feel free to contact us via service@aoseed.com.