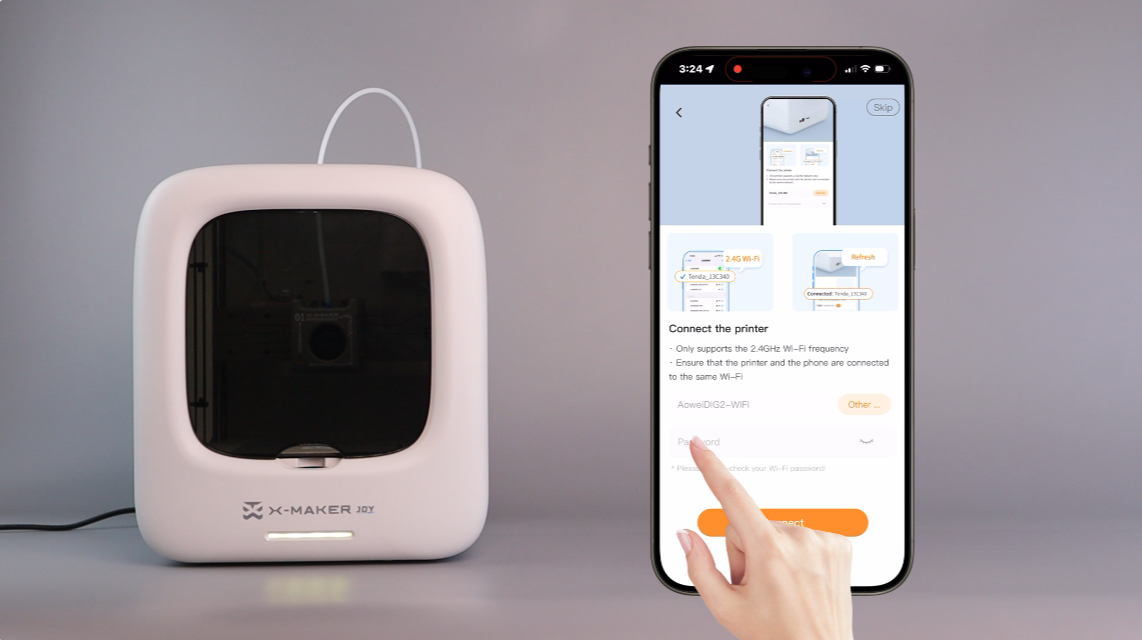
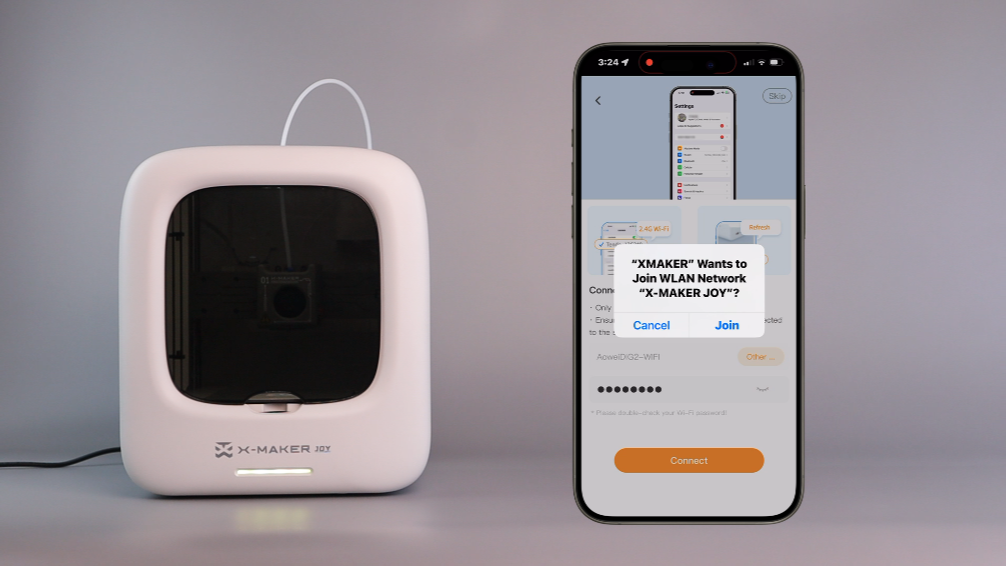
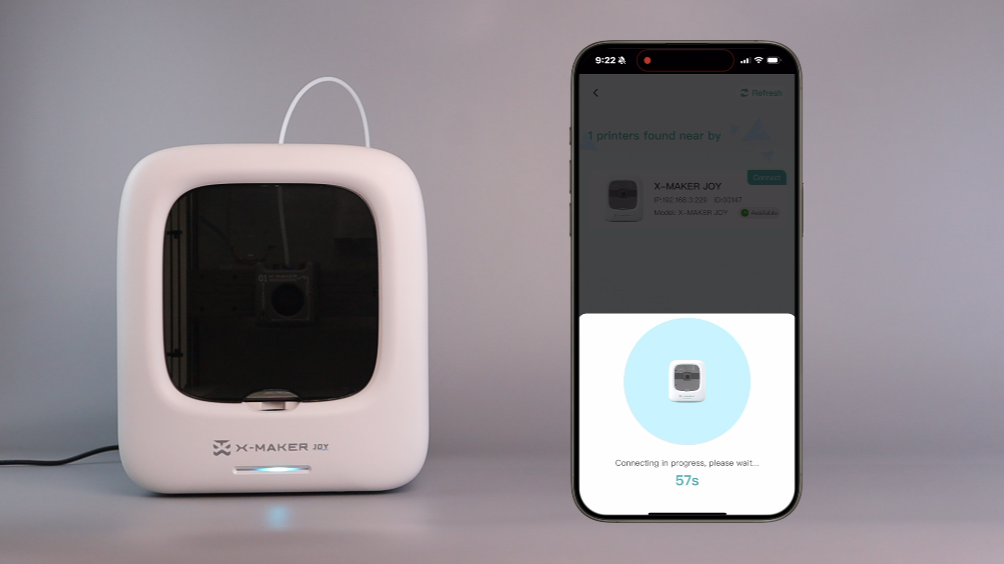
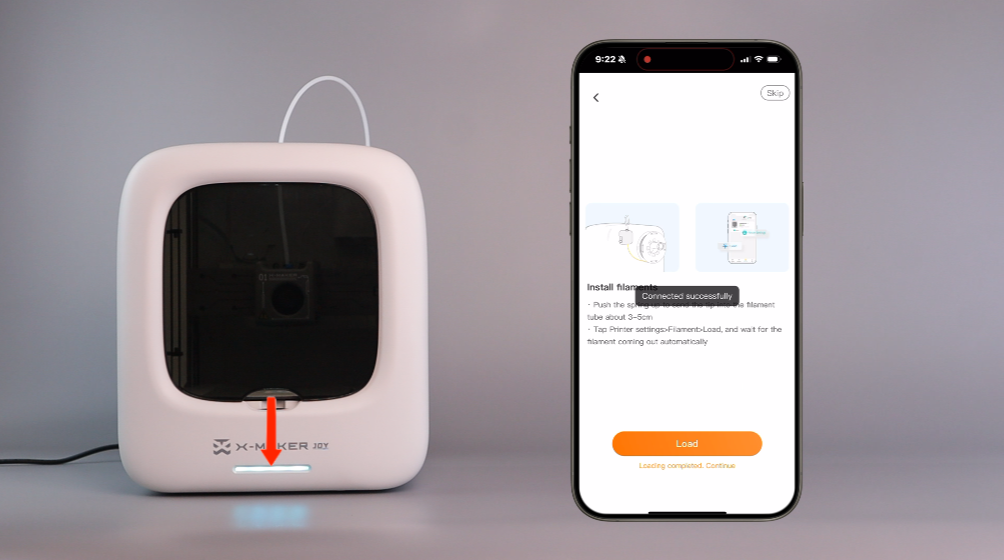
The X-MAKER JOY can connect to a network via Wi-Fi. Connecting the printer to the network will allow you to manage the printer and printing.
To connect your printer to a wireless network, you will need a smartphone or tablet. Follow the steps and pop-ups to connect the printer to your local Wi-Fi network. This is the Network Connection guide video.
Note: Your network must be operating on a 2.4GHz frequency. If you have a dual-band router, you will have to isolate the 2.4GHz frequency (here is a guide from web), as any interference from a 5GHz frequency will likely impact your printer's ability to connect to your network. If you encounter difficulties in isolating the 2.4GHz frequency, it is recommended that you contact the router after-sales support for help.
 |

|
 |
| 1. For phones, download the green XMAKER app; for tablets, download the orange XMAKER HD app. | 2. Open the App and select X-MAKER JOY. | 3. Place the base plate (this step was completed earlier). Tap Continue. |
 |
 |
 |
| 4. Connect the power (this step was completed earlier). Tap Continue. | 5. Turn on the printer using the power switch at the back. |
6. Reset the printer by following the steps blow.
|
 |
 |
 |
| 7. Press and hold the red Reset Button (located at the back near the power switch) until you hear a beep. The indicator light will flash yellow. | 8. When the indicator light turns solid yellow, the printer beeps, it indicates it’s ready to connect. | 9. Enter the Wi-Fi password and tap Connect. Double-check your Wi-Fi password to ensure it’s correct. |
 |
 |
 |
| 10. Tap Join. | 11. While the printer is connecting to the network, the indicator light will flash blue. | 12. When the network connection is successful, the light will show solid blue, and the printer will beep. A pop-up message saying “Connected successfully” will appear on your device. |
Have more questions? Submit a request.
Related articles
Troubleshooting Wi-Fi Connectivity Issues