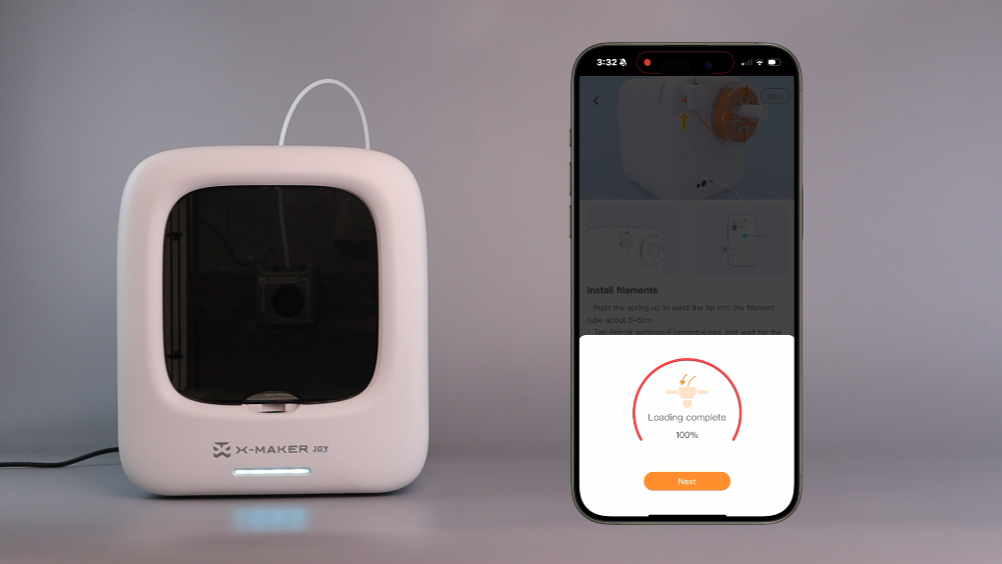
You are now ready to start your first print. There’s no need to upload a model manually, use a 3D slicer, level the bed, or set the temperature. Simply tap the screen, and you’ll soon have your 3D prints!
 |

|
 |
| 1. On the pop-up, tap Continue. | 2. Select a model from the pop-up to start a print. The model will be sliced automatically. | 3. Tap Start, and the file will be uploaded to the printer. |
 |
 |
 |
| 4. The file is uploading. The indicator light flashes blue. | 5. Once the file is uploaded to the printer, the nozzle starts heating. The indicator flashes from blue to red. You can see the print process through real-time video on your device. | 6. After the target temperature is reached, the printer starts printing. The indicator light flashes blue, indicating it is printing. |
 |
 |
 |
| 7. When printing finishes, the nozzle will return to its position. The printer beeps. The light flashes from red to blue, indicating it’s cooling down. | 8. Open the printer’s door and take out the base plate with the print. | 9. Bend the plate to remove the print. Place the flexible plate back into the printer for the next print job. |
 |
 |
 |
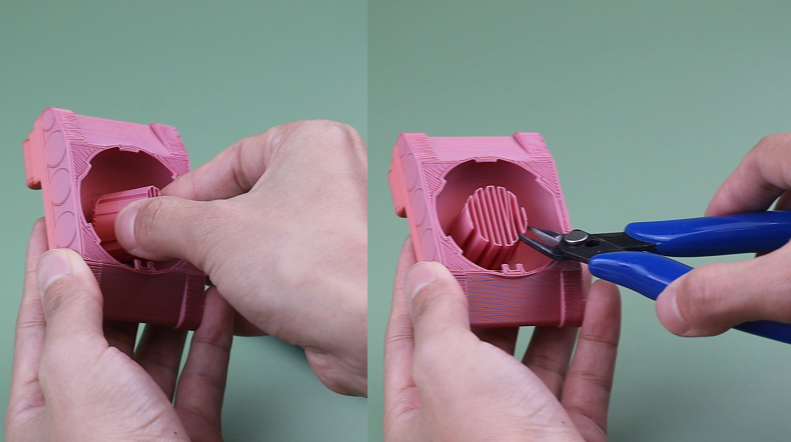
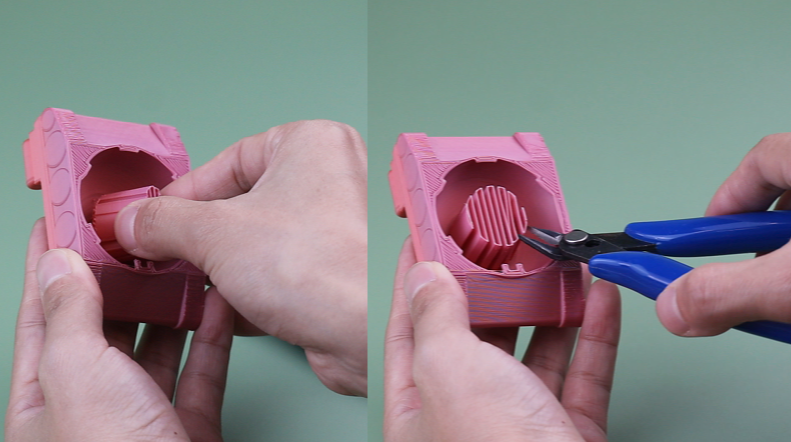
| 10. Remove any support structures. | 11. You can use hands or tools to remove the support structures. | 12. Let’s play! |
 |
 |
|
| 13. If there's support of the print, remove the support, then continue. | 14. (Unload filament if you don’t plan to print.) Turn off the printer. |
How to print models from THINGS?
For further assistance, contact AOSEED customer support via service@aoseed.com.
Related articles